
How To Use Compression Fittings: The Basics of Compression Fittings
If you're new to plumbing or simply looking to expand your DIY skills, understanding compression fittings is essential. These versatile connectors join pipes or tubing in various applications, ensuring secure and leak-free connections.
This article will walk you through the basics of compression fittings, explaining how they work, when to use them, and the step-by-step process of properly installing them. Whether you're tackling a plumbing project at home or seeking knowledge for professional purposes, our guide will equip you with the knowledge you need to work confidently with compression fittings.
Let's dive in!
What's a compression fitting?
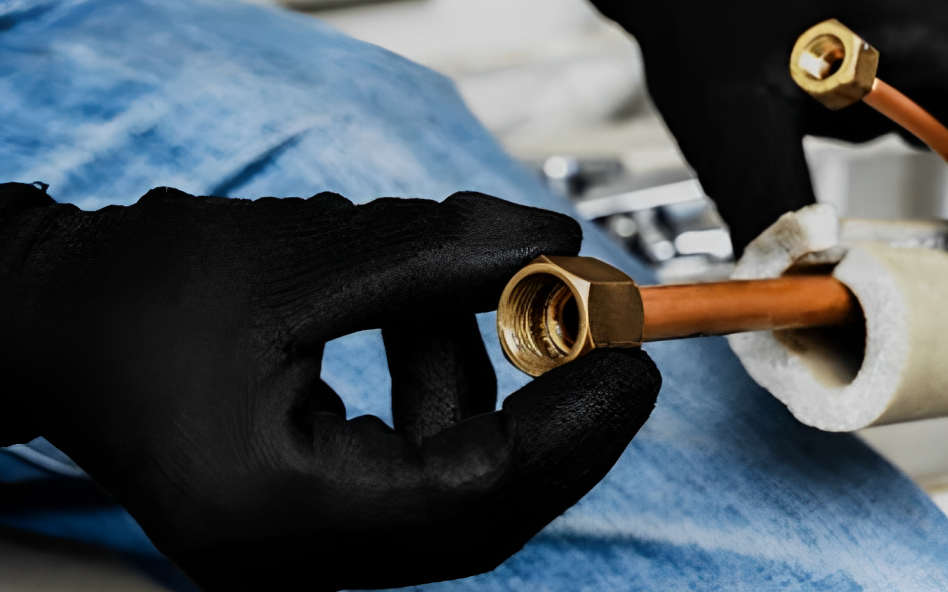
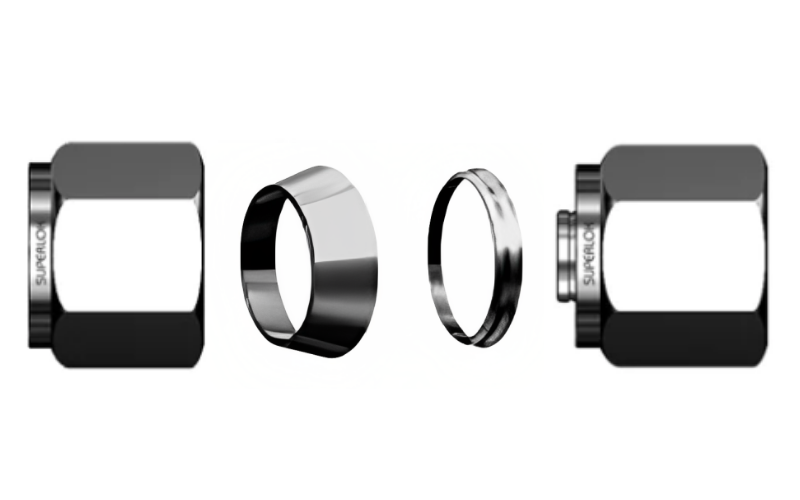
This refers to a mechanical joint used to connect two or more pipes or tubes. It comprises several components: a compression nut, a compression ring ( a ferrule), and a fitting body. The fitting body is typically made of metal, while the compression ring and nut can be crafted from brass, stainless steel, or other durable materials.
Unlike traditional threaded connections, they rely on the principle of compression to create a tight seal. When assembled correctly, they provide a leak-proof connection that withstands high pressures and temperature variations.
They are known for their versatility, enabling the connection of pipes, tubing and valves made from different materials, such as copper, PVC, or stainless steel.
Types of Compression Fitting
Understanding the different types will help you choose the right fittings for your plumbing needs. So here are the types:
-
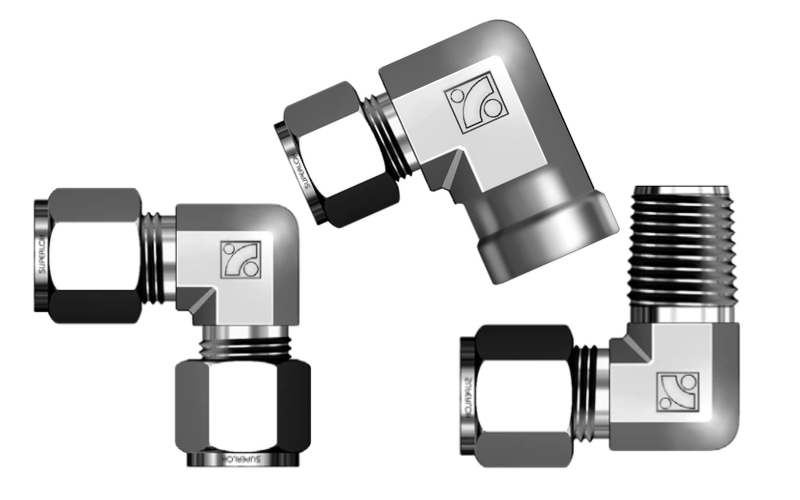
Compression Elbow Fittings
As the name suggests, compression elbow fittings are designed to provide a smooth change in direction within a pipeline. They are commonly used to navigate around obstacles or corners.
These fittings feature a 90-degree bend that allows the pipe to change direction without sacrificing the integrity of the connection. Compression elbow fittings are available in various sizes to accommodate different pipe diameters.
The installation process of compression elbow fittings is relatively straightforward.
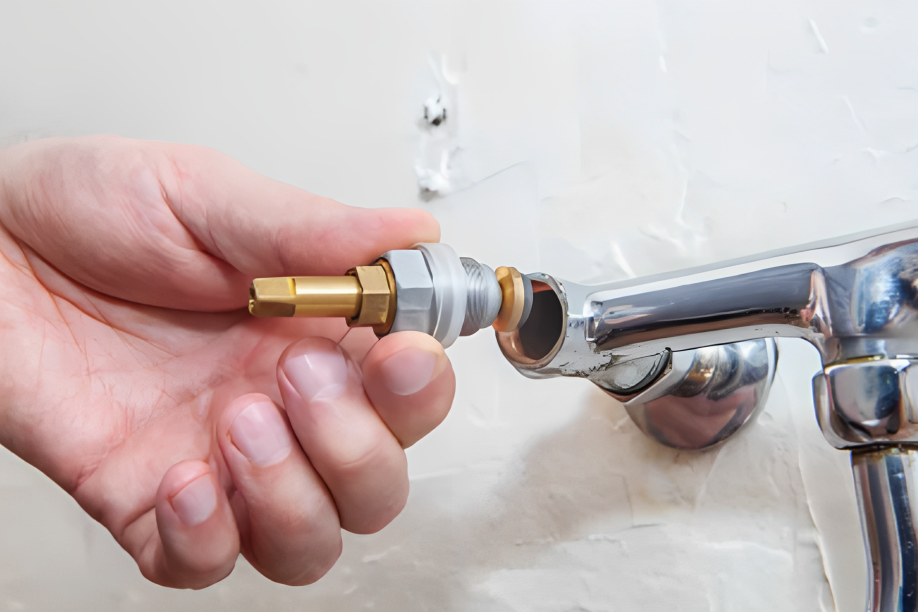
Firstly, ensure that the pipe is cut cleanly and smoothly. Next, slide the compression nut over the pipe, followed by the compression ring (the ferrule). Insert the pipe into the elbow fitting and tighten the nut with a wrench until it forms a tight seal. The compression ring compresses against both the fitting and the pipe, creating a secure and leak-free connection.
-
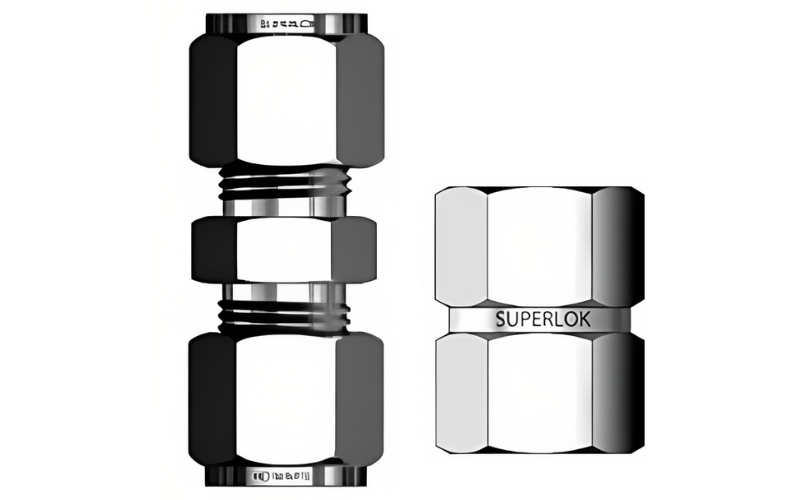
Compression Union and Coupler Fittings
Compression union valves and coupler fittings connect two pipes together in a straight line. These fittings are particularly useful when extending or repairing an existing pipeline. Compression unions are designed to be removable, allowing for disconnection and reconnection without damaging the pipes or fittings.
To install a compression union or coupler fitting, prepare the pipe ends by cutting them cleanly and squarely. Slide the compression nut onto one end or outer diameter of the pipe, followed by the compression ring.
Insert the pipe into one side of the fitting and repeat the process for the other pipe. Finally, tighten the nuts on both sides with a wrench until a secure connection is achieved.
Compression unions and coupler fittings provide excellent flexibility and ease of maintenance, making them a popular choice in plumbing applications.
-
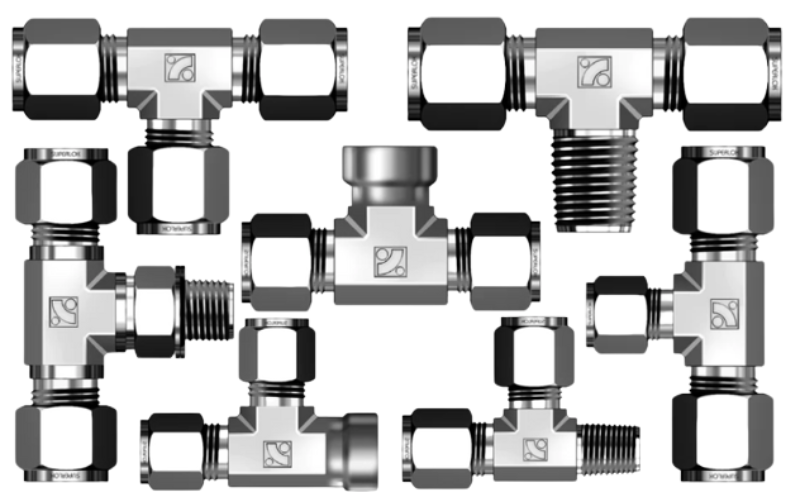
Compression Tee Fittings
Compression tee fittings are used when creating a branch or junction in a pipeline. These fittings allow for connecting a new pipe at a 90-degree angle to the existing line. Compression tees feature three openings, with one inlet and two outlets, facilitating the flow of fluids in different directions.
Installing a compression tee fitting follows a similar process to other compression fittings.
Cut the pipe ends cleanly and smoothly, then slide the compression nut and ring onto each pipe. Insert the compressed pipes into the appropriate openings of the tee fitting and tighten the compression nuts securely. The compression rings ensure a tight seal, preventing any leaks in the system.
Basic Guidelines of Working with Compression Fittings
Understanding the basic guidelines for working with compression fittings, pipe joint compound, and tubing compression fittings is crucial. It ensures proper installation and prevents potential issues. Here are the fundamental principles of compression fittings work, helping you achieve efficient and durable connections.
Only use on Stationary Connections
Compression fittings are best suited for stationary connections, for example, where the pipes or fixtures remain fixed in place. These fittings are not intended for use on connections subject to movement or vibration. The compression nut relies on a tight seal between the fitting and the pipe, and any movement can compromise the integrity of the connection, leading to leaks or failure.
Therefore, it's important to use alternative fittings, such as flared or soldered connections, for applications involving mobile or vibrating parts.
Use Double Compression fittings When lengthening Pipe
When extending the length of a pipe, it is crucial to maintain the integrity of the connection. In such cases, it is recommended to use double-compression fittings. Double compression fittings consist of two compression nuts with a center sleeve or ferrule, providing additional stability and support. This configuration ensures a secure connection and prevents leaks or separations caused by the added length.
Remember to follow the manufacturer's instructions when installing double compression fittings to ensure proper alignment and tightening.
Designed for use Once
Compression fittings are designed for single-use applications. Once a compression fitting has been installed, it should not be disassembled or reused. The compression nut and ferrule form a watertight seal by deforming the pipe, creating a permanent connection. Attempting to disassemble and reassemble a compression fitting can result in leakage, as the ferrule may not deform the pipe properly upon reinstallation. Therefore, it is essential to have extra fittings on hand for any necessary modifications or repairs.
Lubricate the Compression Nut Thread of Compression fittings Before Installing
To ensure smooth and effective installation, it is advisable to lubricate the compression nut thread before tightening. Lubricating the thread reduces friction and allows easier tightening, preventing damage to the fitting or pipe.
Use a suitable lubricant the manufacturer recommends, such as a silicone-based, plumber's grease, or compression-fitting olive. Apply a thin lubricant layer to the compression nut's thread, evenly spreading it for optimal coverage. Proper lubrication promotes a secure seal and facilitates the tightening process.
Don't Overtighten, Especially With Plastic Pipe
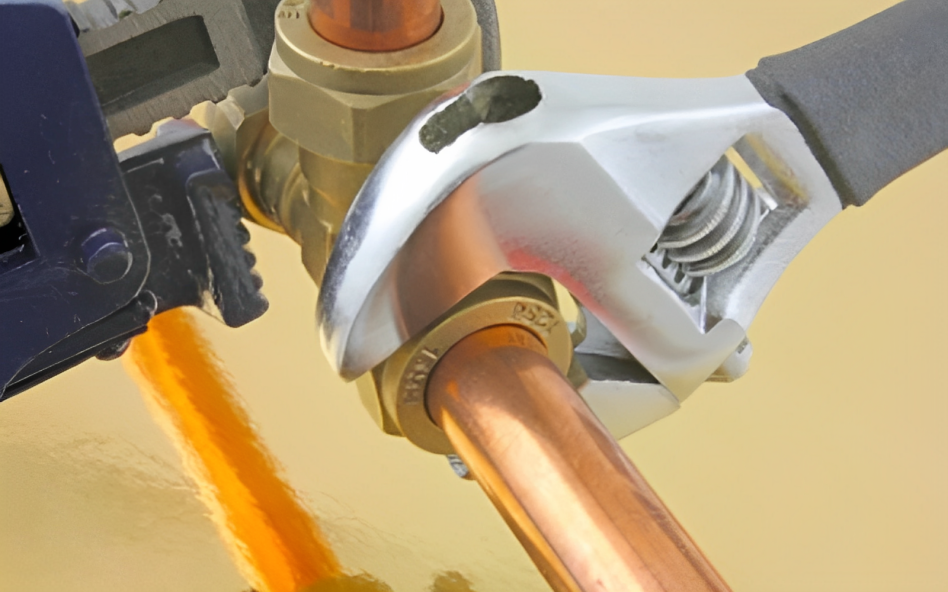
While it is important to tighten compression fittings adequately, it is equally crucial not to overtighten them, especially when working with plastic tubing or copper pipe. Over-tightening can lead to compression fittings damaging or cracking plastic pipes, compromising the connection's integrity.
Follow the manufacturer's guidelines regarding tightening torque values to prevent overtightening union fittings with copper pipes or copper tubing.
It is important to strike a balance between a secure seal and high pressure applications avoiding excessive force that could cause damage. If in doubt, consult a professional or refer to the specifications provided by the fitting manufacturer.
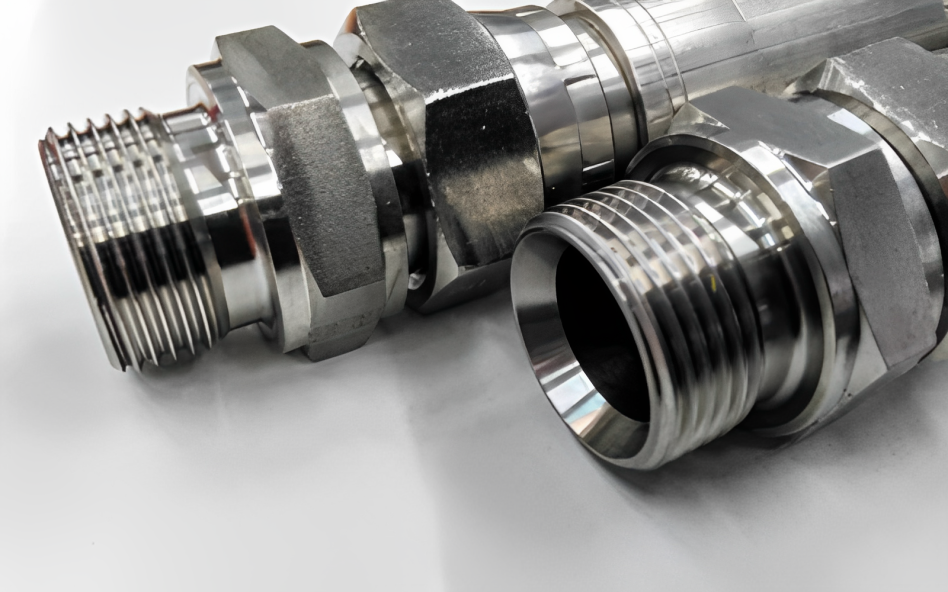
Use Metal Compression fittings with Metal Pipes
Selecting the appropriate type of compression fitting for your application is essential. When working with metal pipes, it is recommended to use metal compression fittings. Metal-to-metal connections provide a reliable and durable seal, ensuring long-term performance.
Metal compression fittings are typically made of brass, copper, or stainless steel, which offer excellent resistance to corrosion and are suitable for various plumbing and gas applications. Always ensure compatibility between the fitting material or use compression fittings between couplings and the pipe to avoid potential issues.
Compression fittings don't work on bent tubing
Compression fittings rely on a tight seal between the ferrule and the pipe to create a secure connection. When tubing is bent, it can disrupt the even, high pressure and distribution necessary for the ferrule to create a reliable seal.
Bent tubing can cause misalignment or uneven compression of the ferrule, for example, leading to leaks or a weakened connection. It is important to note that compression fittings are specifically designed for straight tubing or pipe sections. Therefore, it is essential to use alternative methods, such as flared fittings or specialized fittings for bent tubing, to ensure proper connections in such situations.
How do you install compression fittings?
In this step-by-step guide section, we will walk you through installing compression fittings, enabling you to tackle plumbing tasks confidently.
Step 1: Gather the Required Tools and Materials
Gather the necessary tools, equipment and materials before diving into the installation process to ensure a smooth workflow. You will need the following:
-
Pipe cutter or hacksaw: to cut the pipe to the desired length.
-
Emery cloth or sandpaper: for cleaning the pipe ends.
-
Compression fittings: including compression nuts, ferrules, and the compression body.
-
Adjustable wrenches: for tightening the fittings.
-
Pipe joint compound or Teflon tape: for sealing the threads (if applicable).
-
PTFE paste or pipe joint compound: for lubricating the threads.
Step 2: Measure and Cut the Pipe
Accurate measurements are essential for a successful compression fitting installation. Use a pipe cutter or hacksaw to cut the pipe to the required length, ensuring a clean and straight cut. Remove burrs or rough edges from the cut end using an emery cloth or sandpaper.
Step 3: Prepare the Compression Fitting
Before installing the compression fitting, disassemble it completely. This typically involves unscrewing the compression nut, removing the ferrule(s), and separating the compression fitting work the body.
Step 4: Slide the Components onto the Pipe
Begin by sliding the compression nut onto the pipe, followed by the ferrule(s). Ensure that the nut is tightened and the tapered end of the ferrule(s) faces toward the fitting body. This arrangement ensures a secure and leak-free connection.
Step 5: Insert the Pipe into the Compression Body
Insert the pipe into the compression valve body until it reaches the stop inside the fitting. Ensure the pipe is fully inserted, allowing it to contact the compression valve body properly.
Step 6: Hand Tighten the Compression Nut
Now, hand-tighten the compression nut onto the fitting body. Use your fingers to turn the nut clockwise until it is snug against the outside diameter the compression body.
Step 7: Final Tightening with Wrenches
To ensure a watertight seal, use two adjustable wrenches to hold the fitting body in place and one quarter turn the other to tighten the compression nut. Turn the compression nut another 1/4 to 1/2 turn with the wrenches, but be careful not to overtighten, as this can damage the fitting or cause leaks.
Step 8: Check for Leaks
Once the compression fitting nut is tightened and securely tightened, testing for leaks is crucial. Turn on the water supply and carefully inspect the joint for any signs of dripping or moisture. If you notice any leaks, slightly tighten the compression nut until the leak stops.
Step 9: Repeat the Process (if required)
If you have multiple compression fittings to install, repeat the steps for each connection. Take your time and ensure each compression fitting works and is properly installed, tightened, and leak-free.
Where to Buy Compression Fittings
When purchasing compression fittings, there are several compelling reasons why you should consider buying from us at Ace Compression Fittings. We offer a diverse selection of compression fittings to meet various plumbing needs. Our products are of high quality and reliability. All our compression fittings are sourced from reputable manufacturers known for their superior craftsmanship and durable materials. By choosing our products, you can have confidence in the performance, longevity of the fittings, and competitive pricing.